The timeline is located at the bottom of the interface in vertical mode, and at the right of the interface in horizontal mode.
In the top bar menu  , tap on
  to hide the timeline and on
  to show the timeline.
The number at the center of the timeline is the frame number. Swipe left and right on the timeline to navigate and change frame number.
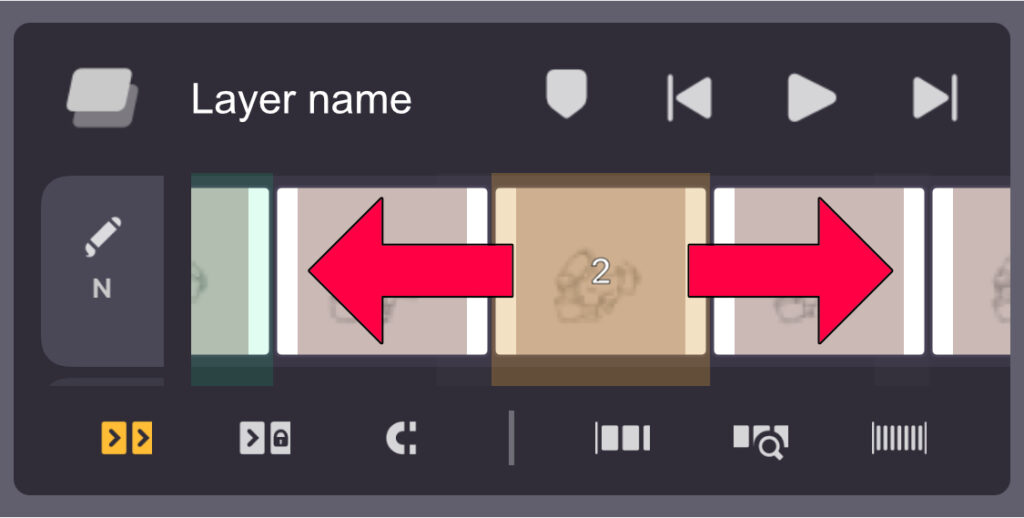
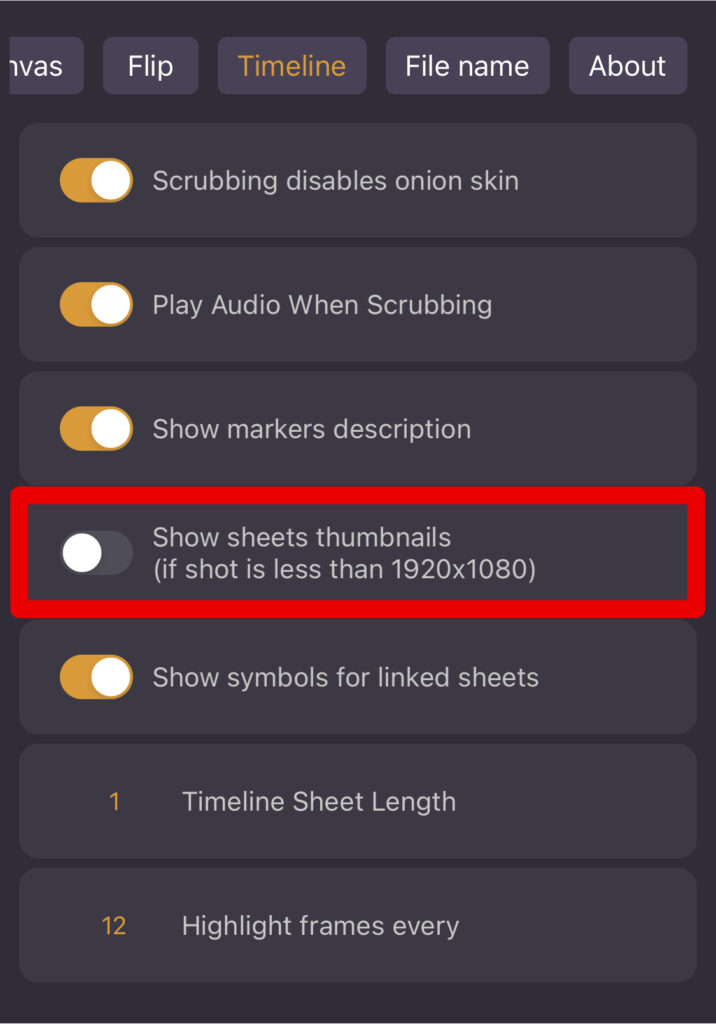
The sheets thumbnails can be displayed if your shot size is 1920×1080 or less. This option can be disabled in the timeline settings if you wish to gain more performance.
The timeline contains sheets which contain one or several frames. To create a sheet in the timeline, just draw or double-tap in the timeline where you want it to be.
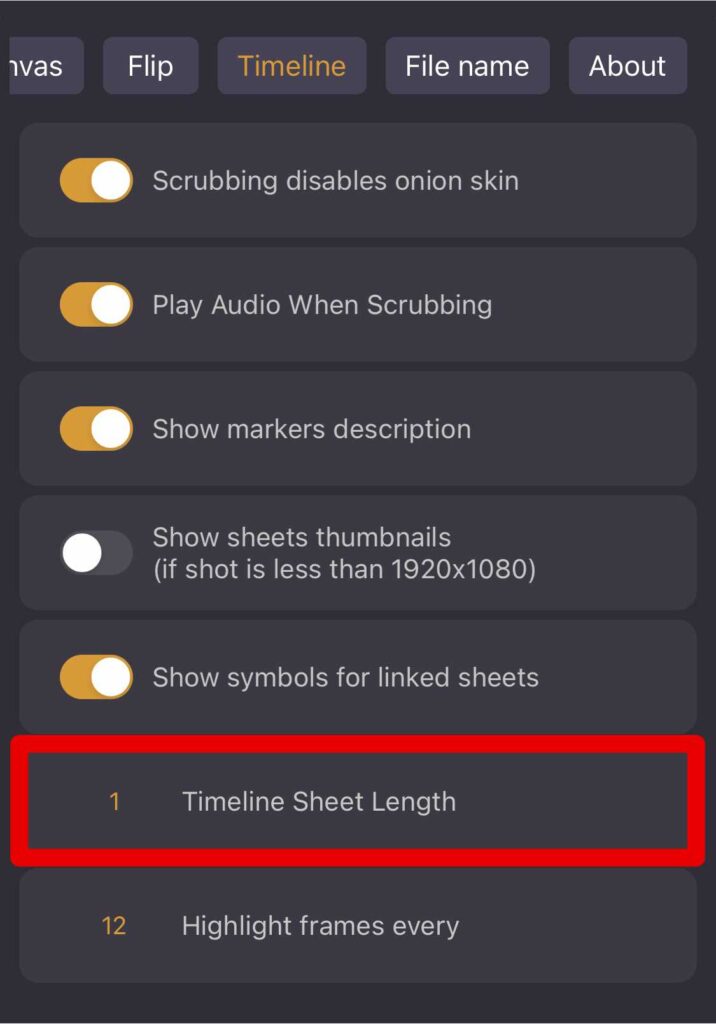
Timeline Sheet Length determines the length of a newly created drawing sheet. Tap on the number to enter the number of frames you want the sheet to last.
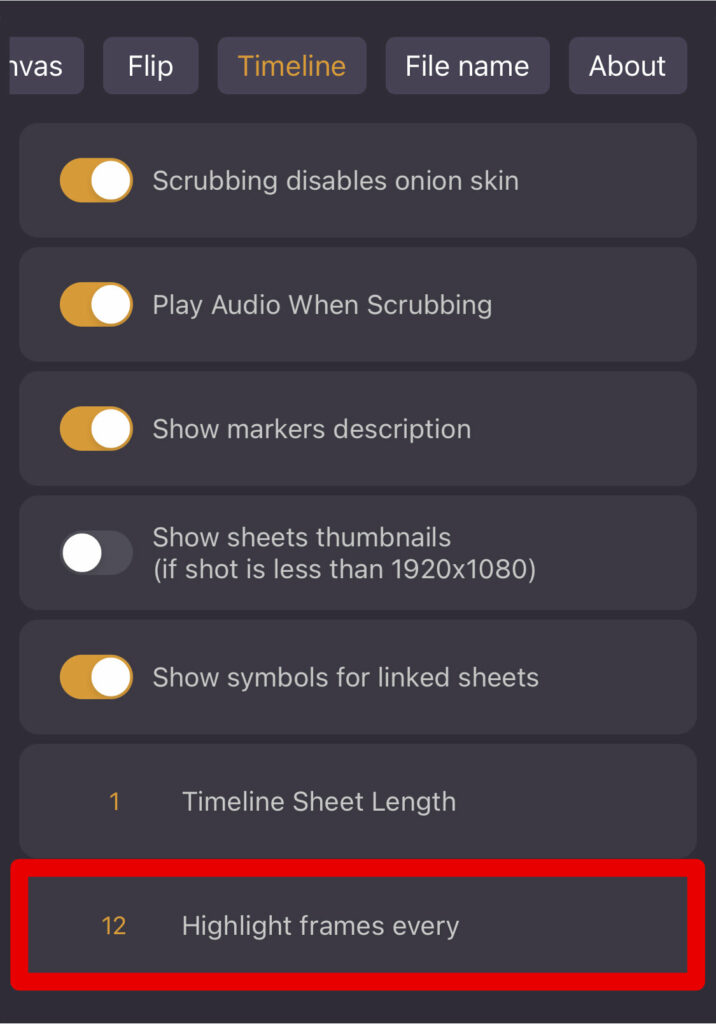
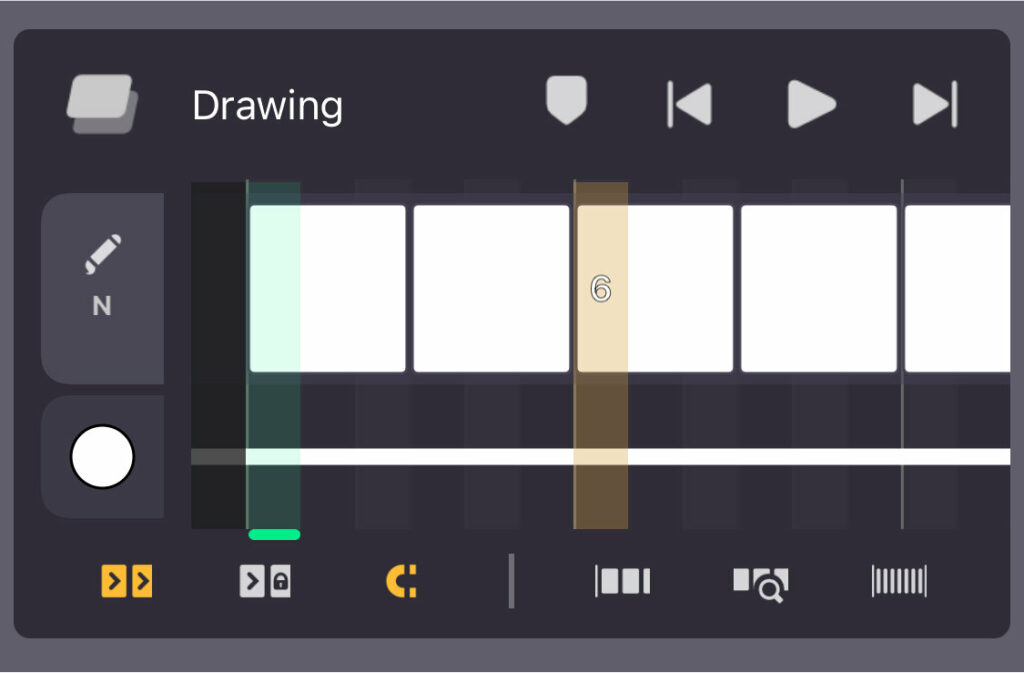
You can choose to highlight frames with different values. A line will be displayed every # frames.
If you choose to highlight your frames every 6 frames:
If you choose to highlight your frames every 12 frames:
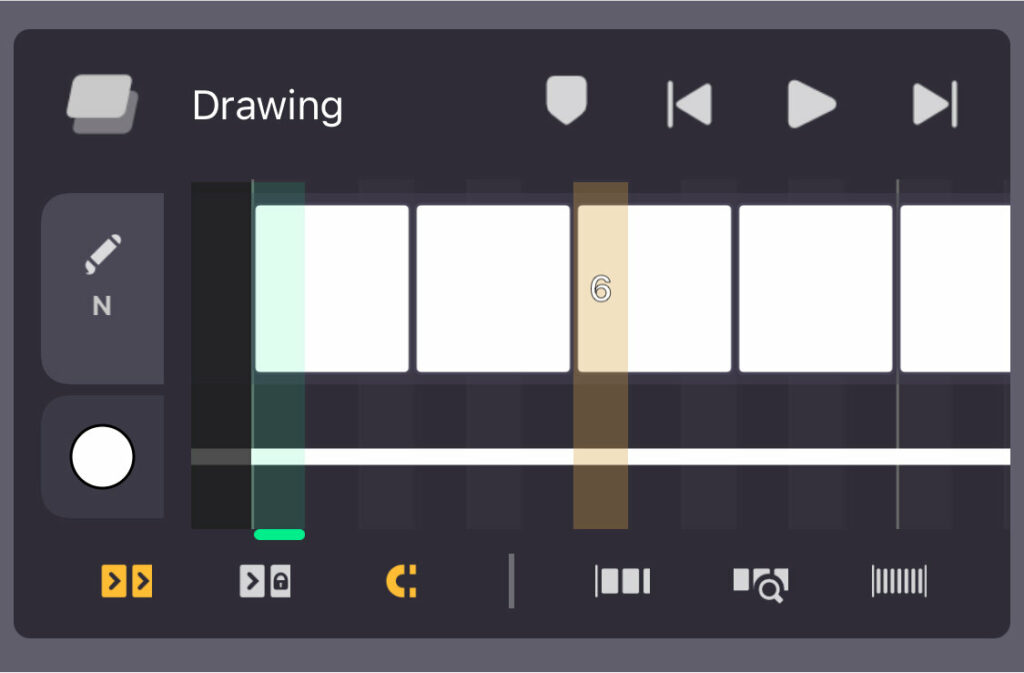
The more you zoom out in the timeline, the more the highlights will spread.
To scrub in the timeline drag left and right.
You can find some options at the bottom of the timeline that will influence the content of the timeline.
 When you resize a sheet you can push the adjacent sheets.
 When you resize a sheet you can't push adjacent sheets, the position of the adjacent sheets is locked.
 The magnet changes the behaviour of the sheets to one another.
If the magnet is enabled and you extend a sheet, the empty spaces will be pushed as well.
If the magnet is disabled and you extend a sheet, the empty spaces will be filled.
Use the mode “push neighbors” and long-touch on the magnet to remove empty spaces between the sheets.
Use the mode “don’t push neighbors” and long-touch on the magnet to fill the empty spaces by increasing the sheets length.
The options on the right change the focus with the zoom and position in the timeline.
 Tap on this icon to reset the timeline scale and position.
 Tap on this icon to zoom at the position of the current frame.
 Tap on this icon to adjust the timeline to fit all the layers' content, or the selected sheets.
In the General settings, Size limit for scrub cache allows you to improve the fluidity of the scrubbing. The higher the value is, the more fluid the scrub will be on a more important number of frames.
At the top of the timeline you can find these options:
 Place a marker at the current frame.
 Go to the previous frame, sheet, or marker.

 Play and pause the animation.
 Go to the next frame, sheet, or marker.
You can choose to flip on either frames, sheets, or markers.
If you choose to flip on frames, you will go through all the frames of your animation.
If you choose to flip on sheets, you will only flip between every drawing sheet.
If you choose to flip on markers, you will flip through all the markers set in the timeline.
To change between frames, sheets, or markers, go to the settings, in the Flip tab, tap on the orange text next to Flip Style, and choose Frames, Sheets, or Markers.
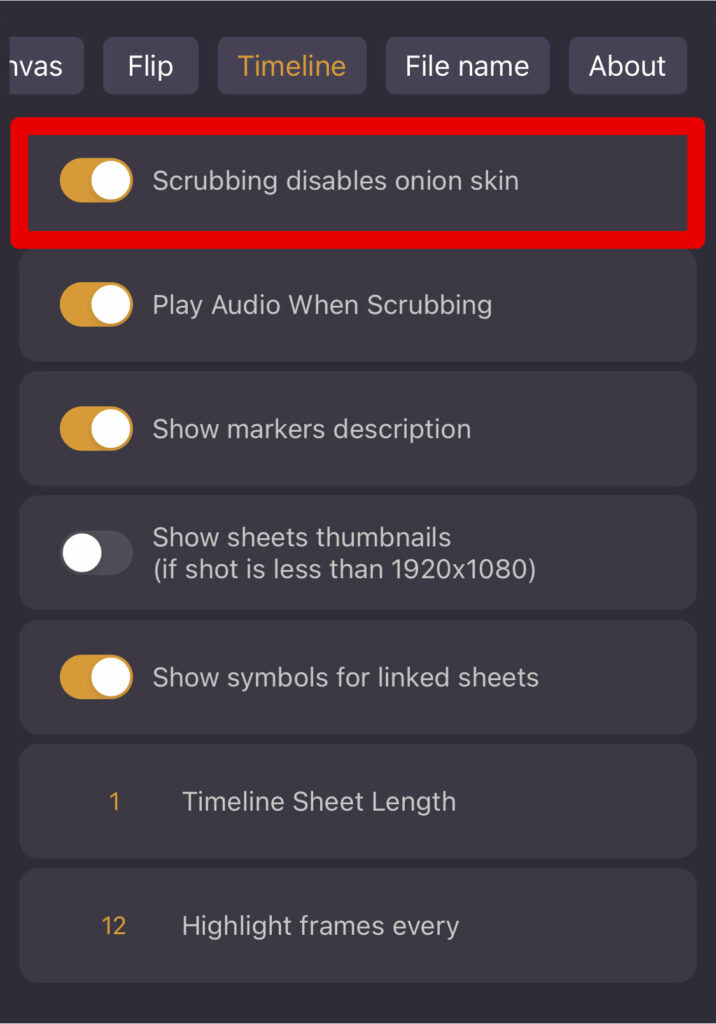
If the onion skin is enabled, you can see the previous and next drawings while flipping and scrubbing. In the settings > Timeline, switch the button Scrubbing disables Onion Skin to see only the current drawings while scrubbing and flipping.
To increase the length of a sheet you need to select it first.
Double-tap to select a sheet. The left and right arrows allow you to increase or decrease the length of a sheet on several frames. Drag an arrow left or right to change the length of the sheet.
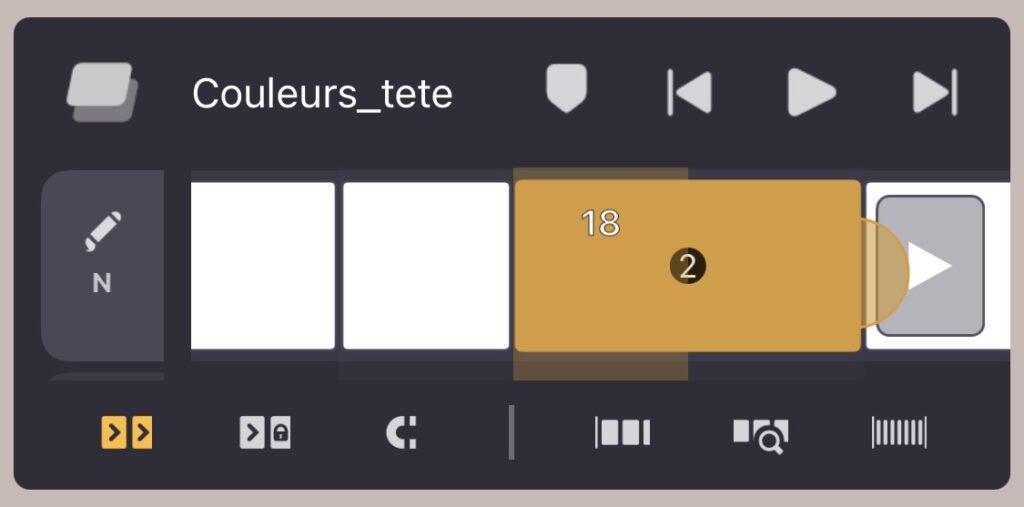
Double tap and drag to select several sheets.
Tap anywhere on the timeline to deselect.
Once you have selected one or several sheets you can move them anywhere in the timeline with a drag.
When a sheet is selected, the length of the sheet is displayed.
The action panel is displayed on the top-right of the timeline any time there is at least one sheet selected.
It is displayed at the bottom-left of the timeline in horizontal mode.
Tap on  to display the options available for the selected elements in the timeline.
Tap on  to display the descriptions of the options.
The options available in the action panel depend on which layer(s) has their sheets, clips, or keyframes selected.
You can find these options in the action panel:
 Deletes the selected sheet(s).
 Copies the sheet content.
 Pastes the sheet content.
 Duplicates the sheet(s) with the content.
 Duplicate the sheet(s) without the content.
 Duplicates the sheet(s) and links both sheets together.
Learn more about linked sheets
 Sets the exposure, the duration of each selected sheet.
 Splits the selected sheet(s) and divides it into several sheets exposed for a lower number of images. The new created sheets are empty. If the number of the images exposed per sheet exceeds the number of images exposed in the original sheet, nothing happens.
 Inverts the order of the selected sheets. This option only works if more than one sheet is selected.
If you have 2 sheets selected, the invert button will swap them.
 Creates an inbetween structure by adding a blank sheet between the selected sheets. The new sheet gets the same exposure than the one before. This option only works if more than one sheet is selected.
 Imports an image or photograph in the selected sheet.
 Creates a new cycle with the selected sheets.
Learn more about cycles
Other options are available in other layer types.

